Currently Shopping For: : Portal

Easy Ordering

Step one to easy print ordering.

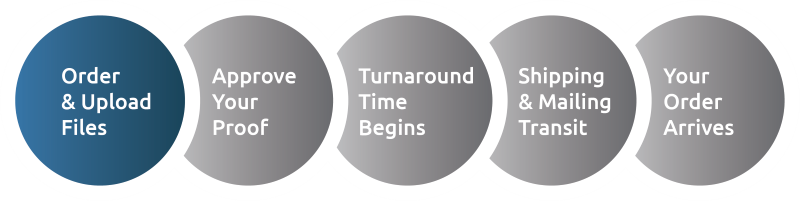
Step 1: Order & Upload Files
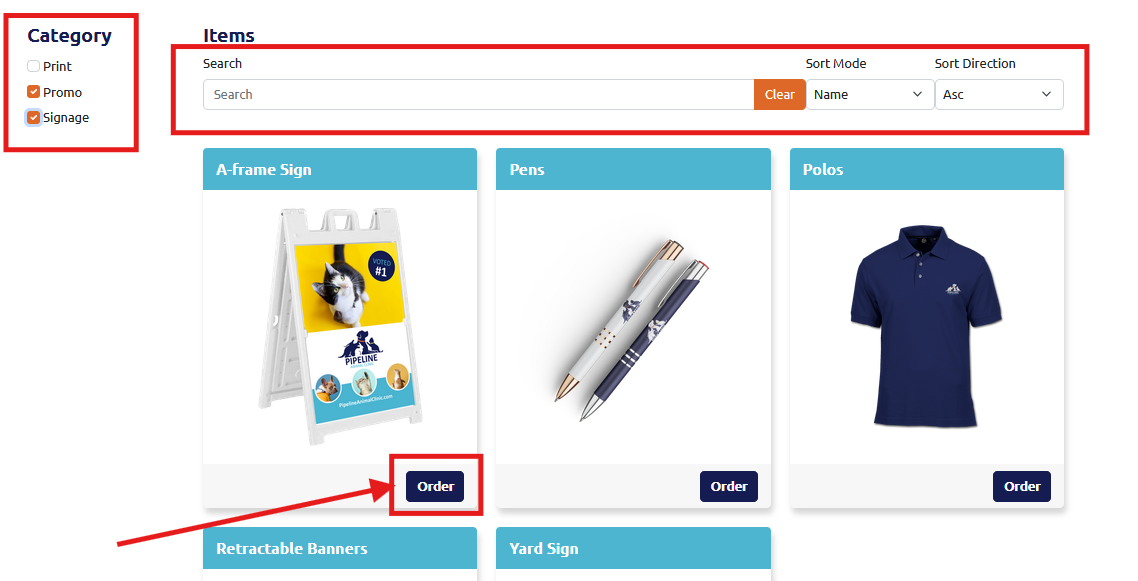
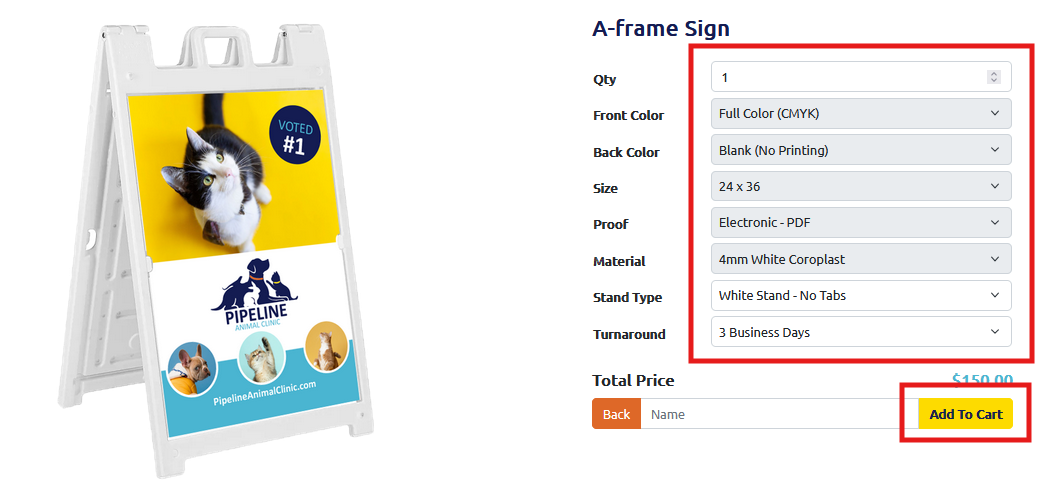
shop

1.) Shop

Choose the item or items you are interested in on our website using the “Products” dropdown at the top left-hand corner of our website. Using our InstaQuote tool, Choose your paper and print selections. Then click “Add to Cart."
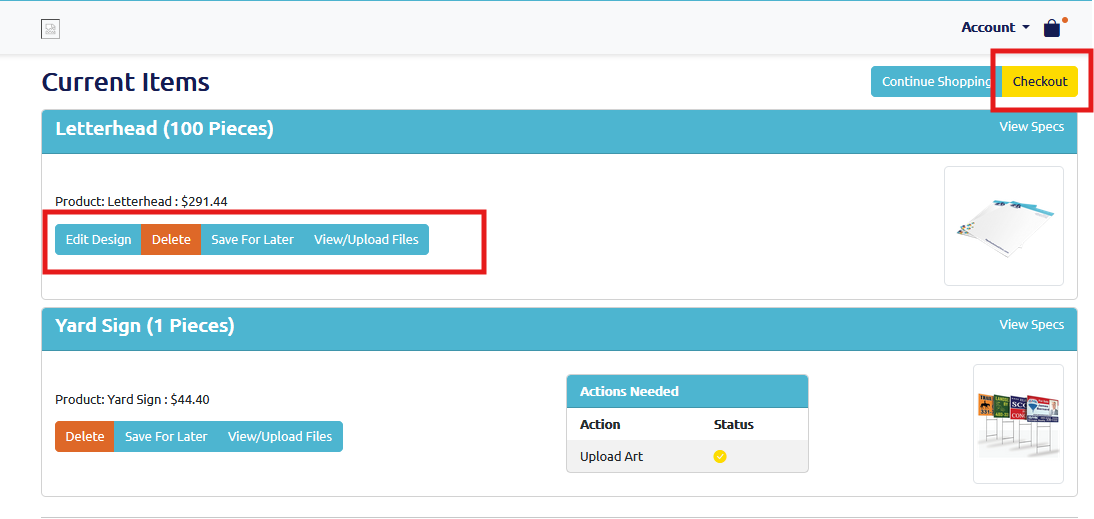
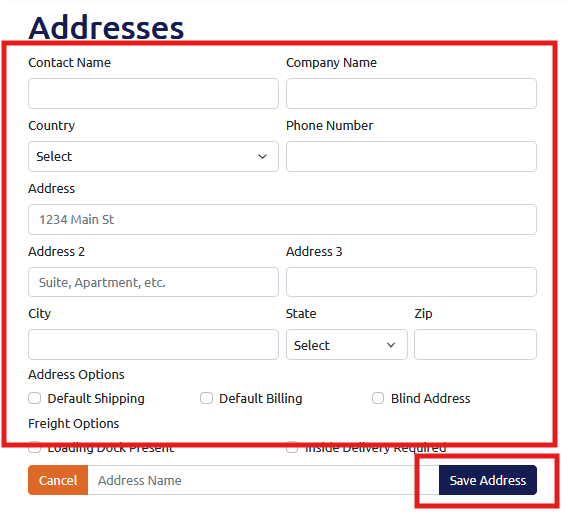
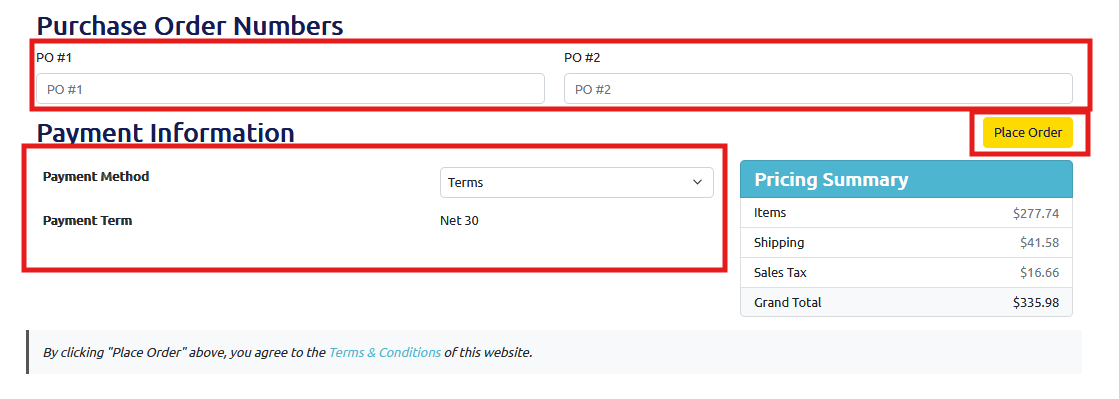
check out

2.) Checkout

Within your cart, which you can access in the top right-hand corner of our website, select the items you wish to order and click “Checkout” to choose your shipping method and payment. When possible, we will combine the items when you place multiple orders into one shipment to further save you money on shipping costs. You will shortly after receive a confirmation email after your payment and order have been processed.

upload files

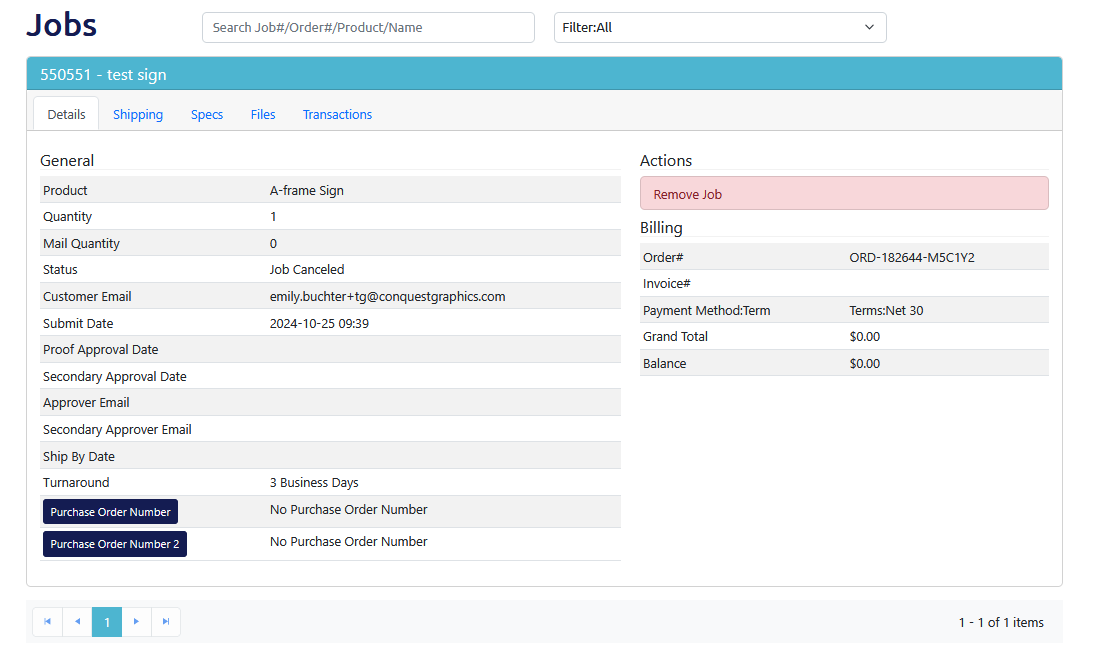
3.) Upload Any Needed Files

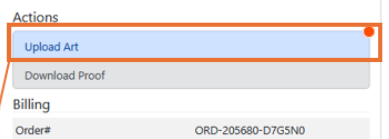
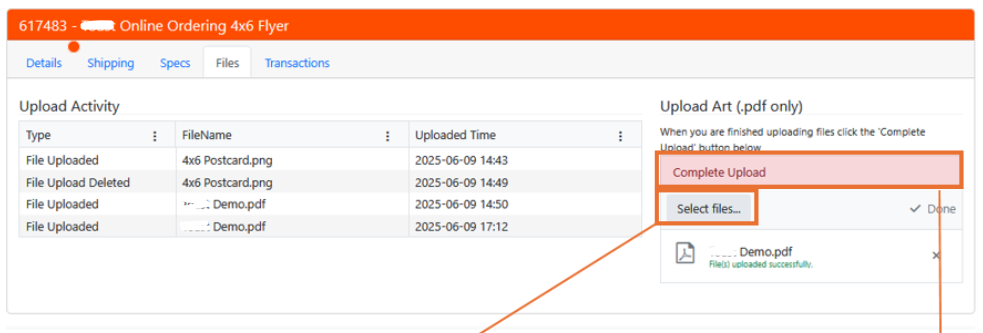
You can now access "Your Jobs" and upload any art files or mailing lists that you need by simply clicking the "Upload Art" button. We will keep them in a secure library that you can access as you need them. If you have any questions about what is needed for your files, check out our "Art/Docs Prep" page.

Step two to easy print ordering.

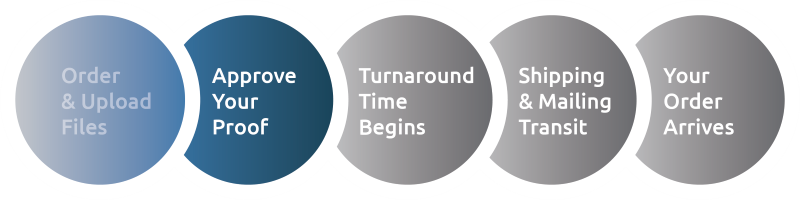
Step 2: Approve Your Proof

The next step is approving your proof. Some orders will not require a proof like our Quick-Ship items for a fully automated experience that is built for speed. Other orders will require you to choose electronic proof, contract proof or no proof at all.

Electronic Proofs

Electronic proofs are free PDF versions of your final product, and with modern color-matching capabilities, they are the most popular and recommended types of proofs.

Once you have uploaded your art files, you will soon receive an email within 1-8 business hours letting you know that your proof is ready to view.

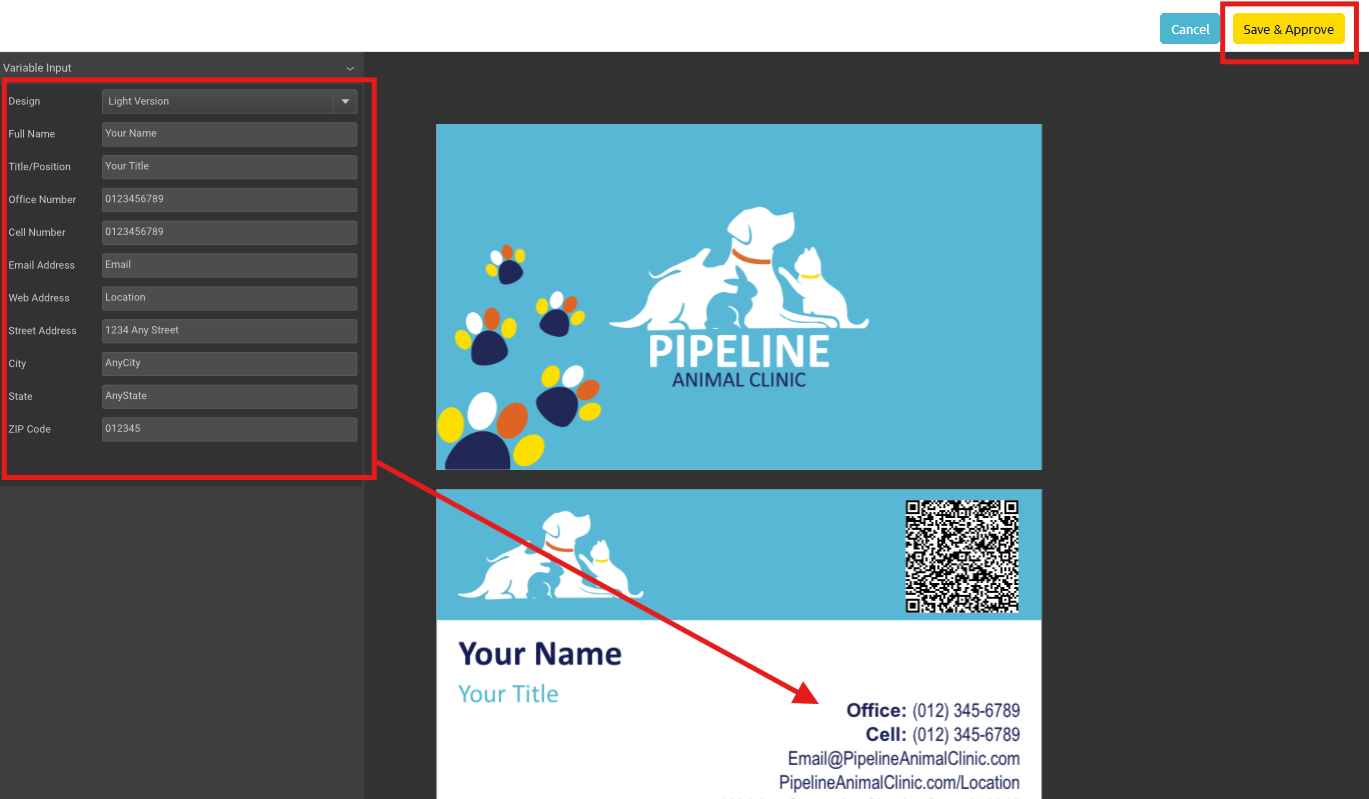
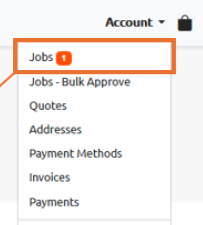
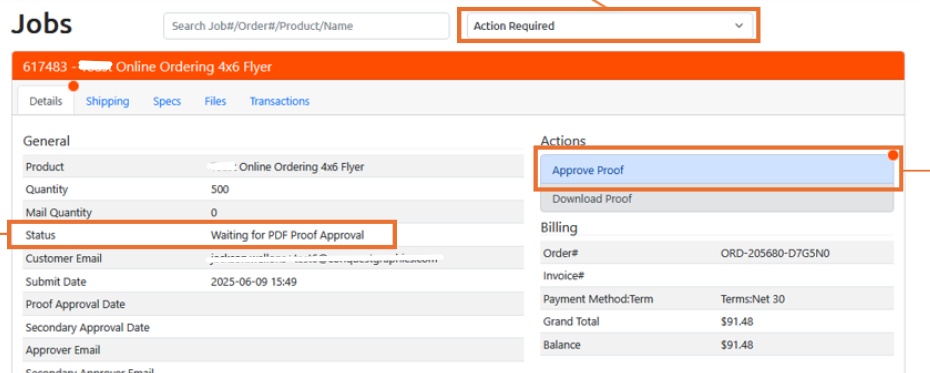
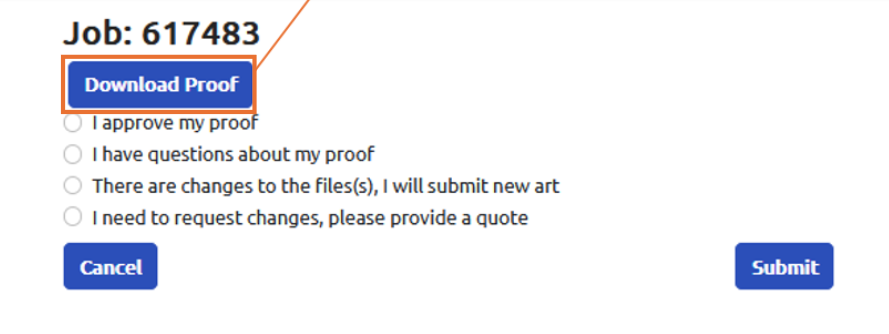
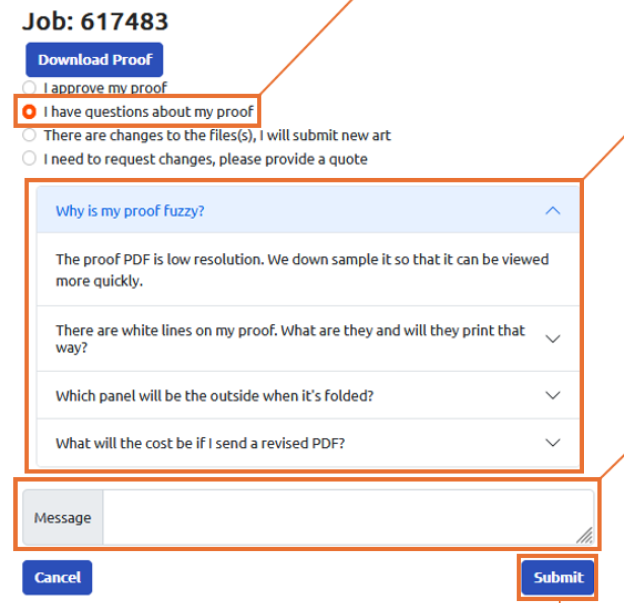
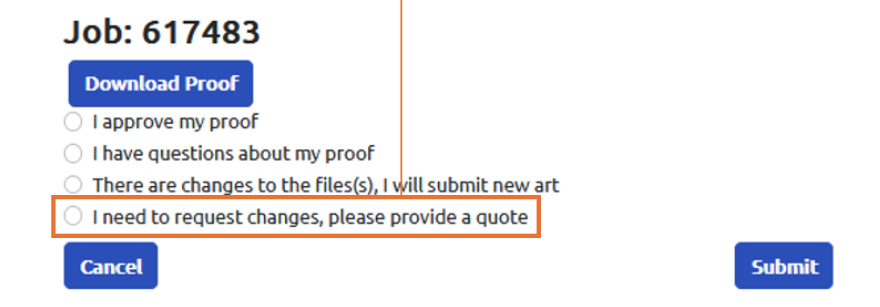
You can click on the link provided in the email to navigate to your proof or in the top right-hand corner of our website, click on the dropdown titled “Your Account” and then click on “Your Jobs” to log in and view your orders. Any order that has a proof ready for review will have a button that reads “View Proof.” By clicking on this button, you can then open your electronic proof and choose to approve or opt to upload new art files if there are any issues with your proof. We will include notes on any errors or changes we made, including adding bleed or switching your project from RGB to CMYK color model, but please double-check that everything is to your liking before approving your proof.

Contract Proofs

Contract proofs are physical copies of your printed material. For this type of proof, we will ship your proof to you the same day or 1-2 business days, depending on your materials. You will then need to ship your contract proof back to us to move your order into production. There is an extra charge for contract proofs, which is indicated in the checkout process.

Step three to easy print ordering.

Step 3: Turnaround Time Begins

Once your proof is approved, it’s time to get your project into production. Production time is the time it takes to print your materials; this is what we call Turnaround Time, and this begins after you have approved your proof.

Electronic Proofs

Electronic proofs are free PDF versions of your final product, and with modern color-matching capabilities, they are the most popular and recommended types of proofs.

Once you have approved your electronic proof, your project's turnaround time begins.

Contract Proofs

Once you receive your contract proof, you must ship your proof back to us, and once we receive it, your turnaround time will begin.

Step four to easy print ordering.

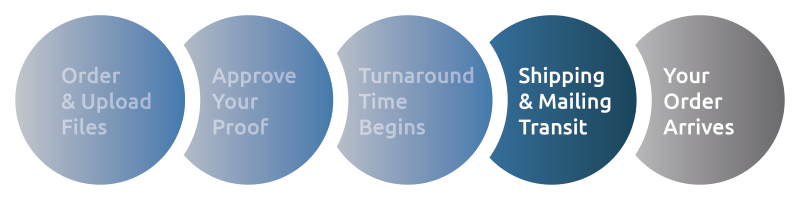
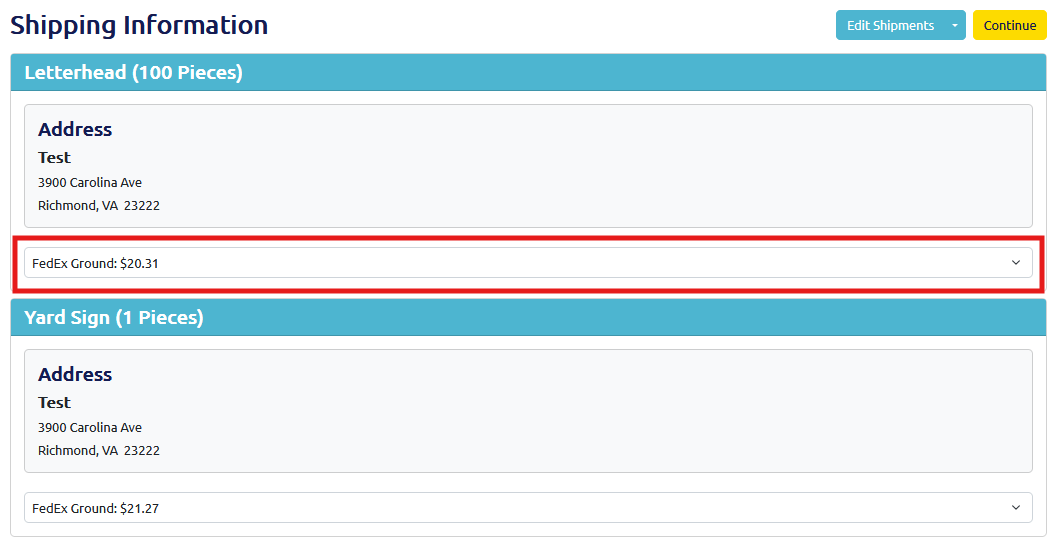
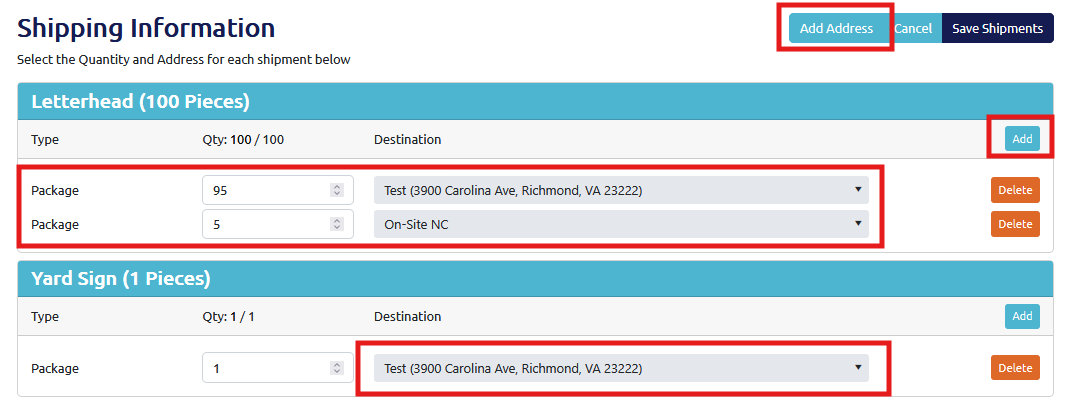
Step 4: Shipping & Mailing Transit

Shipping time is not included within your turnaround time. For example, if you choose a 5-7 business day turnaround, your shipping time will begin after your materials have been produced and are shipped out.

The shipping transit time will be in accordance with the delivery ZIP code you entered when inputting your project specifications.

For direct mail campaigns, your materials will arrive to your audience based on the mailing option you chose within the specifications of your project and could be 1-6 business days or more depending on your mailing choice, current situations, and the location of where your mail will be delivered. If your materials need to arrive before a certain date, always let your sales rep know so they can help choose the best options for you.

For more information on mailing, including how you can track your mail, visit our Mailing Help page.

Step four to easy print ordering.

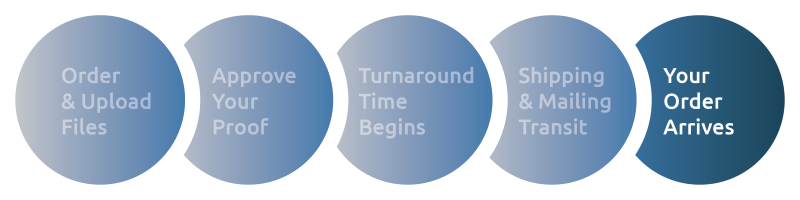
Step 5: Your Order Arrives

Your order has arrived, or your direct mail pieces have met their destination!

Additional Resources

Here are a few things to keep in mind when getting your printed design ready. For a more in-depth overview, visit our “Art/Docs Prep” page.

  • Bleeds: Extend background and design elements 1/8” from the edge of the page.
  • Margins: Keep text and images 1/8” inside from the edge of the page.
  • Image Resolution: Image resolution should be at least 300 dpi.
  • Size: Pages in design software need to be the same size as your desired product.
  • Color: The design needs to be in CMYK. We will automatically change art if uploaded in RGB and will notify you of this change within your proof notes.
  • PDF: Download your designs in PDF format with bleed included. This will make your PDF around 0.25" larger in length and width.
  • Folds: For folded materials like brochures, make sure designs account for the fold line.
  • Page Count: For multi-paged materials, make sure pages are designed in order.

You will typically receive 3 emails during your online ordering process. If you have requested a quote, you will receive 4.

Email 1: Your Quote - This email you will receive if you have requested a quote and will be regarding your quote details along with the next steps.

Email 2: Your Order Confirmation - This email is your order confirmation and will include your order details and next steps, including a link to upload your art files and/or mailing files.

Email 3: Your Proof - This third email is to notify you that your proof is ready for review and will include a link for you to login in and view your proof, where you can approve it or upload updated files if needed.

Email 4: Your Job Invoice & Summary - Once your order has been completed, you will receive a job invoice and summary email.

According to the Fair Credit Billing Act, your credit card provider or bank cannot hold you liable for more than $50.00 worth of fraudulent charges. If your credit card provider or bank does hold you responsible for any part of this $50.00, we will cover the liability for you, up to the full $50.00 value. We will only cover this liability if the unauthorized and fraudulent use of your credit card resulted through no fault of your own from purchases made on our website while using our secure server.

In the event of unauthorized and fraudulent use of your credit card, you must notify your bank or credit card provider in accordance with its procedures and terms of use. We reserve the right to ask you to provide documentation or other evidence of the fraud activity prior to issuing a credit under our Secure Shopping Guarantee.

Have questions?

Available from 9AM to 5PM EST, our team is here to help.


Help & Resources

To create an account, please click on the "Login" link located at the top right of the navigation bar.

You will be directed to the login page. From here, click on the "Register now" link located under the "Log in" button.

Brochure folding options.

You will then be directed to the registration page. Fill in all fields. The email you fill in will be your Username for logging in. After filling in all of your information, click the "Register" button. This will direct you back to the Login page where you can fill in your Username (the email you used to register) and your password.

Brochure folding options.

On the Login page, click the "Forgotten password" link located above the "Log In" button.

Brochure folding options.

This will direct you to a new page. Enter your email (this is the username you use to log in) and press "Send." You will receive an email from us; please click on the link in the email to reset your password.

Brochure folding options.

You will be directed to a screen like the one below, asking you to add a new password and then repeat it. Once you have entered your new password, click "Save" and then "Login" to go back to the Login page, where you can log in using your new password.

Brochure folding options.Brochure folding options.

To begin ordering, please log in to your account. You can log in by clicking the "Login" link at the top right of the navigation bar and using the email address you used as your username during registration. Once logged in, you will be able to view and shop for all products associated with your account and brand.

If applicable, you can filter your brand's products using the checkboxes to the right of your screen, the search bar, or the Sort Mode and Sort Direction dropdowns. Click the "Order" button for the product you would like to order.

Brochure folding options.

For static products (products that do not require customization), you can select specific options that are not grayed out, including your quantity, turnaround time (the time it takes to print your order), and add a Name for your job. Then, press "Add To Cart." Any options that are grayed out cannot be changed.

Brochure folding options.

For design products (products that can be personalized), you will need to select or input any options that are not grayed out. Then, press the "Design" button to begin personalizing your product.

Brochure folding options.

A new view will appear, allowing you to begin personalizing your product. Insert any needed fields, such as contact information, background colors, images, etc. You will see the design populate your information. This is exactly how your product will look when printed. Once you have completed your customization, click "Save & Approve". This will take you back to the product page, where you can click on "Add To Cart" to proceed.

Brochure folding options.

By clicking on "Add To Cart," you will be directed to your cart, or you can access your cart at any time by clicking on the bag icon in the top right of the navigation. Here, you will see all current products in your cart. You can edit your design from here if needed, delete, save a product for later, or upload files if required. Please note you can upload files after checking out as well. Once you are ready, click on "Checkout" to begin the checkout process.

Brochure folding options.

For products that require an uploaded art file, you can click on the "View/Upload Files" and then drag and drop files or select from your local files. After uploading, click "Complete Upload." After completing the upload successfully, the "Actions Needed" status will show a checkmark. Now, you can click checkout to proceed. Or you can skip the upload file process and upload your files after checkout by visiting "Your Jobs."

Brochure folding options.

If this is your first time ordering, you'll be directed to a Shipping Address input screen. Input all relevant shipping information. You can then set this address as your "Default Shipping" or "Default Billing" to have it prepopulate in the future. Name your address and click "Save Address" to save it to the address book held on your Account. You'll then be taken to the Shipping Information Screen.

Brochure folding options.

On the Shipping Information screen, click on the "Edit Shipments" button to change or add an address or split a shipment. To change the shipping type/carrier, click on the dropdown highlighted below to show a list of shipping options.

Brochure folding options.

If you click on the "Edit Shipments" button, you will be directed to the Shipping Edit screen. Here, you can add a new address by clicking on "Add Address." You can change the shipping destination on this page by selecting the destination dropdown and selecting an address listed in your Account's addresses. To split a shipment, click "Add" to add multiple packages and send each package to different locations. Ensure the quantity totals the total quantity specified in your order. Once ready, click "Save Shipments" to return to the Shipping Information screen and then press "Continue" to proceed to Checkout.

Brochure folding options.

After clicking on the "Continue" button, you will be directed to the payment page. Here, you can enter Purchase Order #s, if desired, which are provided on invoices for the order. Your brand may be set up with Terms, in which case, you will see a similar screen to the one below. If your brand requires payment at checkout, you will see a field to insert a payment method. Once ready, click "Place Order."

Brochure folding options.

At any time, you can visit your past and current jobs by clicking on the "Your Jobs" in the "Account" dropdown. Here you will find all your jobs and their information. You can also upload art or mailing files here if needed and filter your jobs by status.

Brochure folding options.

For products that require an art file upload, you will need to approve your proof so that your job moves into production. Once your proof is ready, you'll receive a "Proof Ready" email. Click on the link to go to your portal login page.

Brochure folding options.

Once logged in, click on the account dropdown in the top right of the screen and select "Jobs" (there should be a number highlighted for the number of jobs that have an "Action Required.")

Brochure folding options.

Once on the Jobs screen, if you have any jobs requiring attention, they will be immediately shown under "Action Required." "Job Status" will show as "Waiting for PDF Approval." Click on "Approve Proof" to begin the proof approval process.

Brochure folding options.

Click "Download Proof" to download and view your PDF Proof file.

After downloading and viewing the proof, if there are no changes needed, simply select "I approve my proof" and then "Submit" to send your job directly into production.

Brochure folding options.

If you have questions after viewing your proof, select "I have questions about my proof." Frequently asked proof questions will appear. Include a message to our prepress team or request a change to your artwork and then click "Submit." Your message will be sent to our prepress team. The job won't be moved into production, and another proof approval will be required after our team has addressed your question or changed the artwork.

Brochure folding options.

After viewing your proof and you need to upload an entirely new art file, select "There are changes to the file(s), I will submit new art." Click submit. The job listed on your Jobs page will now prompt you to upload new art. Select "Upload Art." Upload the new art file from your local files and then click "Complete Upload" to finish the process.

Brochure folding options.Brochure folding options.Brochure folding options.

Select "I need to request changes, please provide a quote" if you need to completely change the specifications of the product you ordered. We will then be in touch, and your current job will not move into production.

Brochure folding options.

You should receive an email with a link to your proof within 2-8 business hours after uploading your file.

Need additional assistance? Click below to chat with our team of experts.

Chat With Us