Mailing Services Information
Save Time & Money With Our In-House Mailing Services
Need help or have questions about mailing your direct mail materials? We have the answers and details you are looking for!
Getting Started with Your Mailing
The United States Postal Service (USPS®) offers many options from which to choose including options that can help you reach hundreds to thousands of consumers, or even one or ten.

To select the best option for your mailing, it’s important to know the requirements and advantages of each option available to you. Yet, getting to know all the options for mailing your printed materials can take some time.
We think the best way to decide is to rely on experience and expertise. Both of which we have!
Plus, we work closely with the USPS® and can help you from beginning to end with your mailings.
So, let us help you make the best choice. Tell us who you want to mail to and the results you want to achieve. We will let you know your options and help you understand the cost-benefit analysis of each. In many instances, we will even provide our postal permits if needed for a seamless process.
Consider More Than Just the Cost of Postage
Do you have an audience you already want to reach? Or are you looking to target a specific audience? What will your audience think of the mail they receive from you? What is the feeling you want your message to convey to your audience? What is the main message you’re looking to deliver?
Understanding your goals for your mailings and how they will be perceived by the recipient can affect the response it receives. By sharing with us your target market and communication strategy, we can present your options, their influential factors, ways to lower the hurdles they may create, and the best ways to meet your goals and budget.
The Ins & Outs of Mailing
Bulk Mail

Bulk mail is the term used by the USPS® for large mailings that are mailed at reduced postage costs, and it applies to commercial First-Class Mail and Standard Mail (or Advertising Mail.)
Bulk mail costs are lower than single-piece prices because you or your mail provider do a lot of the work that otherwise would have to be done by the Postal Service—for example, sorting the mail by ZIP code or transporting the mail to a destination postal facility.
To mail at commercial prices, you need a mailing permit (permission to mail) and pay an annual mailing fee for each class of mail.
The benefits of using a mail provider, like Conquest Graphics, are realized in the time and cost savings as we have a mailing permit that most of our customers take advantage of without paying any permit fees, and we can handle everything in-house (including presorting your mail pieces) while making your total cost as low as possible.
To learn more about the postage prices, click here.
Your Mailing Quantities are Important!
To qualify for certain postage discounts, you must mail a minimum number of mail pieces.
- 500 pieces for First-Class Mail
- 200 pieces (or 50 pounds of mail) for Standard Mail, Standard Marketing Parcels, or Parcel Select Lightweight Parcels
- 50 pieces for Parcel Select
- 50 pieces of 50 pounds for Parcel Select Non-Presort
- 300 pieces for Presorted of Carrier Route Bound Printed Matter
- 300 pieces for Library Mail
- 300 pieces for Media Mail
*NOTE: different classes of mail are more expensive than others, and they have different delivery times. For example, First Class Mail is more expensive than Standard Mail, but it is often delivered within 1-5 business days, while Standard Mail is delivered within 3-21 days.
Every Door Direct Mail
Every Door Direct Mail, or EDDM, is a service offered by the USPS® and does not require a mailing list. Instead, you simply choose a carrier route, and your mail pieces will be delivered to every address on that route.
While there are certain requirements that need to be met for the types of direct mail materials you use, EDDM offers one of the largest mailing discounts.
Direct Mail Commingling
Direct mail commingling allows you to mail as few mail pieces as you would like while still applying bulk mailing discounts to your mailing.
It works by combining your mailing with other companies' mailings to create a mailing with a large enough quantity to qualify for bulk mailing rates. For example, you could mail 20 postcards, another company could mail 80, and another mail 100, and all 3 mailings would be combined to qualify for Standard Mail.

Direct Mail Automation
Direct Mail Automation eliminates any manual labor from your direct mail campaigns.
It works by integrating your mailings with your CRM or marketing automation platform and sends your direct mail pieces out the same way you would send emails. For example, you could send a letter to a customer with just a click of a button, or you could set up triggers so a postcard is automatically sent to contacts based on certain events or actions.
Tracking Your Mail Results
Like any marketing strategy, tracking the results of your direct mail materials is so important because it helps you understand what campaigns are effective and which ones need improvement.
Luckily, tracking direct mail is easy, and all you need to do is include one of the following:
- Coupon Codes
- Call Tracking Number
- QR Codes
- Personalized URL (PURL)
To learn more on how you can easily track direct mail, click here.
Make Your Mailing Project a Seamless Process
Your time is valuable! Eliminate the hassle of mailing and postage by taking advantage of our state-of-the-art mailing operation.
Conquest Graphics offers a one-stop-shop solution for all your mailing needs, we even have 65,000 square feet of dedicated, in-house mailing space to handle every one of your mailing projects seamlessly. We also have multiple locations and will determine the best facility to print and mail your materials from so you can save the most on your mailings.
Why Conquest Is A Leader in Mailing Services
Mailing Experience
We have over 100 years of experience managing complex mailing projects. Whether your project is large or small, we can ensure your mailing project is handled professionally, hassle-free, on time, and on budget.
Knowledge
Our on-site mail centers work with the USPS® every day, and our expert understanding of postal regulations helps guarantee the success of your mailing project. We can even analyze your direct mail pieces in the design stage to determine the best possible delivery and postage savings.
Technology and Speed
We believe in and specialize in technology. We utilize the very latest software and mailing equipment in our Mail Centers to provide our customers with an efficient turn-key mailing services solution. We also offer full-color personalization of letters, flyers, postcards, brochures, and more on our state-of-the-art digital presses.
Along with our incredible and discount full-color printing and rock-bottom process, we also offer our customers a full-service mailing center. We understand that most printed materials end up in the mail. We also understand that the mailing process is expensive, complicated, and a real hassle, so let us take care of it and help you find the right options to meet your goals and budget.
In-House Mail Center
Our in-house Mail Center can help identify the best way to deliver your materials. And with multiple Mail Centers in the US, we can split your jobs so that they get there fast no matter where you want to mail.
Our full-service Mail Centers provide fast delivery across the country and have everything you need to mail your projects, no matter how large or small.
- Mailing list cleansing and de-duping
- Presorting, CASS certification, and Intelligent Mail Barcoding for the lowest possible postage rates
- NCOA processing
- Complete ink-jetting and addressing capabilities
- Digitally printed projects can be addressed as they are printed, resulting in fewer handling steps
- Automated envelope insertion
Mail Delivery Reporting
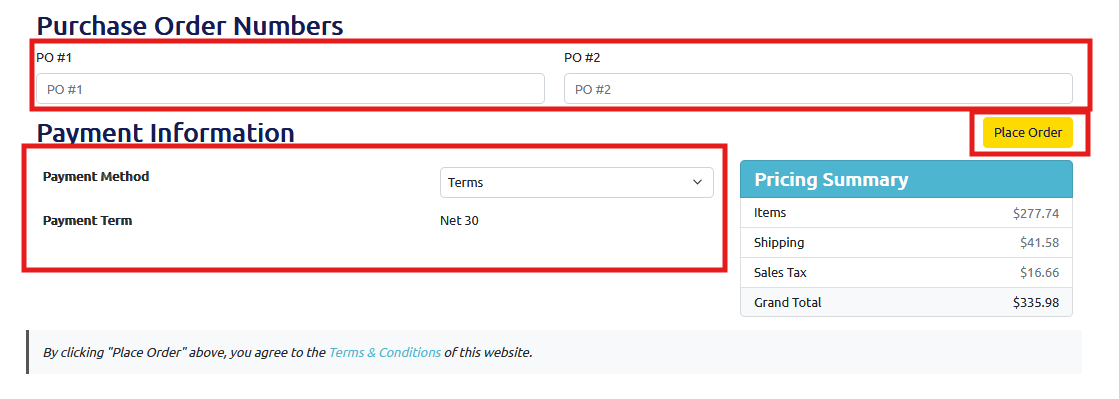
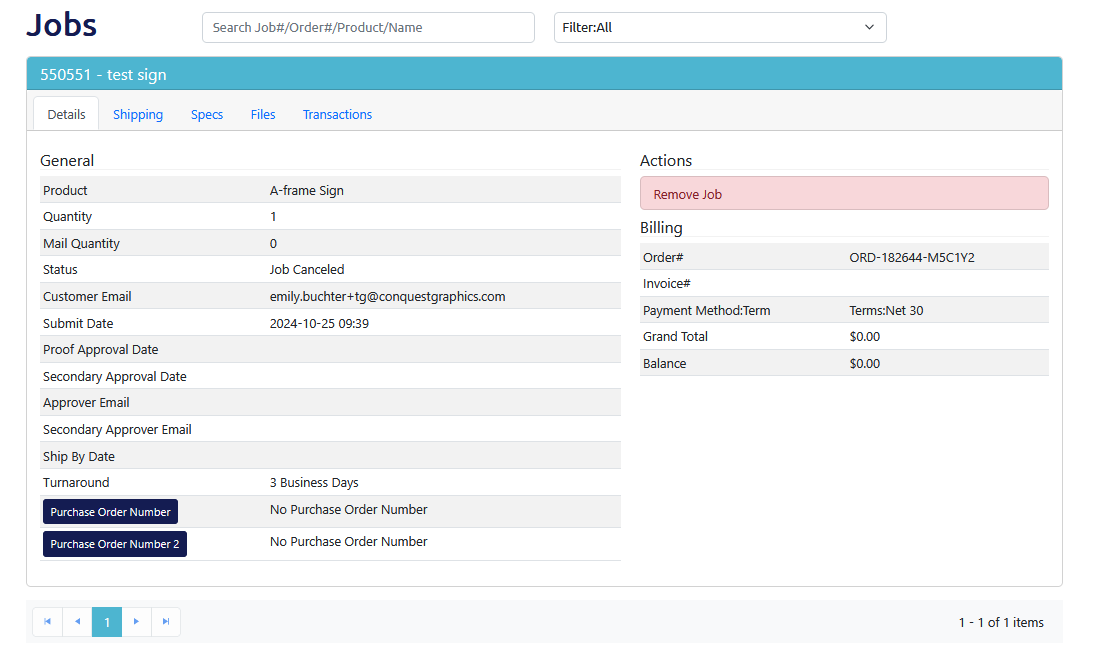
Yes, Conquest Graphics offers mail tracking services to customers using Intelligent Mail® barcode technology through the USPS. To track an order you’re mailing with Conquest Graphics, simply view the order under your account info section titled “Your Jobs.” Once you’ve expanded the order’s details, you can click the button to purchase three options for “Mail Delivery Reporting.” Contact us if you need any help or assistance.
Depending on how much detail you want, there is a range of pricing for our mailing reports.
- Sectional Center Facility (SCF) level reporting - $30.00
- State level reporting - $30.00
- Both SCF and State level reporting - $50.00
- Detailed reporting - $150.00
- All available reporting - $175.00
Mail reporting is appropriate for anyone sending First Class mail, periodicals or standard mail through Conquest Graphics’ mailing center. When you order a mailed job on ConquestGraphics.com you will be offered the ability to add on mailing reports, either via email or by logging into your account and viewing your mailing job’s details under the “Your Jobs” section of your account.
Using Conquest Graphics’ Intelligent Mail® barcode, a dynamic report can be generated by our Information Technology team, showing you the relevant information needed to understand the delivery dates of every single piece of your mailing job after it’s mailed from our mailing center. This report automatically updates as we receive raw data on the progress of your mail.
Depending on which version of the mailing report you choose to purchase, you will receive various amounts of information on your mailed job.
- Sectional Center Facility (SCF) report – this report will give you information on the dates your mailers arrive at various sectional center facilities, which are basically regional processing and distribution centers that serve a specific geographic area defined by three-digit zip code prefixes. This is the least specific form of mail reporting, as it will only give you an idea of when your mailed items reached the distribution centers for each region. You can insinuate from this report that your mailers have arrived at their destinations roughly within the week. This report will not tell you which states your mailers have arrived in, but it will tell you which regional post distribution centers they have gone through.
- State level reporting – this report will give you information on the dates your mailers arrive at destination post offices within their destination states. This won’t give you the full details of when your mailers are arriving at their destination post offices, it will just tell you how many of your mailers have made it to their destination state. From this, you can assume that your mailers will deliver within the given state in less than a week. For example, this report will tell you that one hundred of your individual mail pieces made it to New Jersey on May 1st, but it won’t tell you which individual post offices they’ve arrived at or which regional post distribution centers they’ve arrived to.
- Both SCF and state level reporting – this report will let you know both when your mailers are arriving in their destination states and it will let you know when they’ve reached their regional level postal centers for distribution. You can then assume that your mailers will deliver within the week following their arrival to their destination state and destination Sectional Center Facility.
- Detailed reporting – this report will give you up to date information on the dates your mailed pieces are arriving to their destination post offices. You can assume from this that your mailed pieces will arrive to their destination within 1-2 days. This report is the most detailed of our reporting styles available and shows you how many of the total expected pieces have reached their destination post offices by certain dates, giving you a full picture of the status of your entire mail job. Using this mail report, you can tell what percentage of your mailed pieces made it where they needed to be and in what timing. For example, if you are planning a grand opening for your store on Friday, this report can tell you that the mailed promo you sent out to your region arrived to their destination post offices on Tuesday, meaning they will reach their end destinations in time to promote your grand opening that Friday.
- All available reporting – this mailing report will give you all the available information received from the USPS on the status of your mailed job. This will give you complete understanding of when your individual mailed pieces are arriving in their regional, state and, ultimately, destination post offices.
Once you’ve purchased mailing reports through the website or with the assistance of a customer service or sales team member, you can begin accessing your mailing reports immediately! Using either the email address associated with your account or an email address of your choosing that you’ve communicated to us through customer service, you will receive notifications when your mailing report receives new data from the USPS on the progress of your job.
This data can be accessed either through the “Your Jobs” section of your account when you log into ConquestGraphics.com or you can access it using the link that will be emailed to you as we receive up-to-date information that dynamically updates your report.
The link that is emailed to you to view the report is the most convenient method of viewing the report, and it is valid for 24 hours after it is sent to you, allowing you to access the report without having to enter your login details for ConquestGraphics.com
If it is more than 24 hours after you have received the last update on your mailing job and you have not received a newer link since then with new updates on the job, you will have to login to your account and access the mailing report under the job in the “Your Jobs” section of your account.
No matter what, your most up-to-date mailing report will always be accessible there once you have purchased it using one of the above outlined purchasing methods.
If you are experiencing difficulty accessing your mailing report or would like a specialized method of receiving notifications of your reports availability and updates, please speak to a member of our customer service or sales team.
Either email CustomerService@ConquestGraphics.com or call 800-707-9903 to get in touch with a member of our sales team to get help accessing your mailing report. You could also chat in using our built-in website chat feature between the hours of 8:00am and 7:00pm EST Monday through Friday.

If you’ve ever received a mailer in your mailbox, you’ve probably seen something like this across the bottom. These distinctive marks are a Intelligent Mail® barcode (IMb). This barcode is used to track the progress of individual mailed pieces as they reach regional postal distribution centers and destination post offices.
Mailing Help From Our Blog

Card title
Some quick example text to build on the card title and make up the bulk of the card's content.
Card title
Some quick example text to build on the card title and make up the bulk of the card's content.
Card title
Some quick example text to build on the card title and make up the bulk of the card's content.
Card title
Some quick example text to build on the card title and make up the bulk of the card's content.
Card title
Some quick example text to build on the card title and make up the bulk of the card's content.
Card title
Some quick example text to build on the card title and make up the bulk of the card's content.
Card title
Some quick example text to build on the card title and make up the bulk of the card's content.
Card title
Some quick example text to build on the card title and make up the bulk of the card's content.
Card title
Some quick example text to build on the card title and make up the bulk of the card's content.